Storyboarding 101: Definition, Benefits, and 4 Steps to Get You Started
Looking to boost your video engagement? You’re not alone. From brand ads to product spotlights, video marketing is having a real moment.
According to HubSpot’s latest State of Marketing Report:
Video is the top content marketing media format for three years running
Short-term video content is the most effective type of social media content
And yet, only 6 out of 10 marketers say they’re using video in their content marketing
But that number is likely to increase—and fast. Meaning it will be harder to stand out in a saturated social feed.
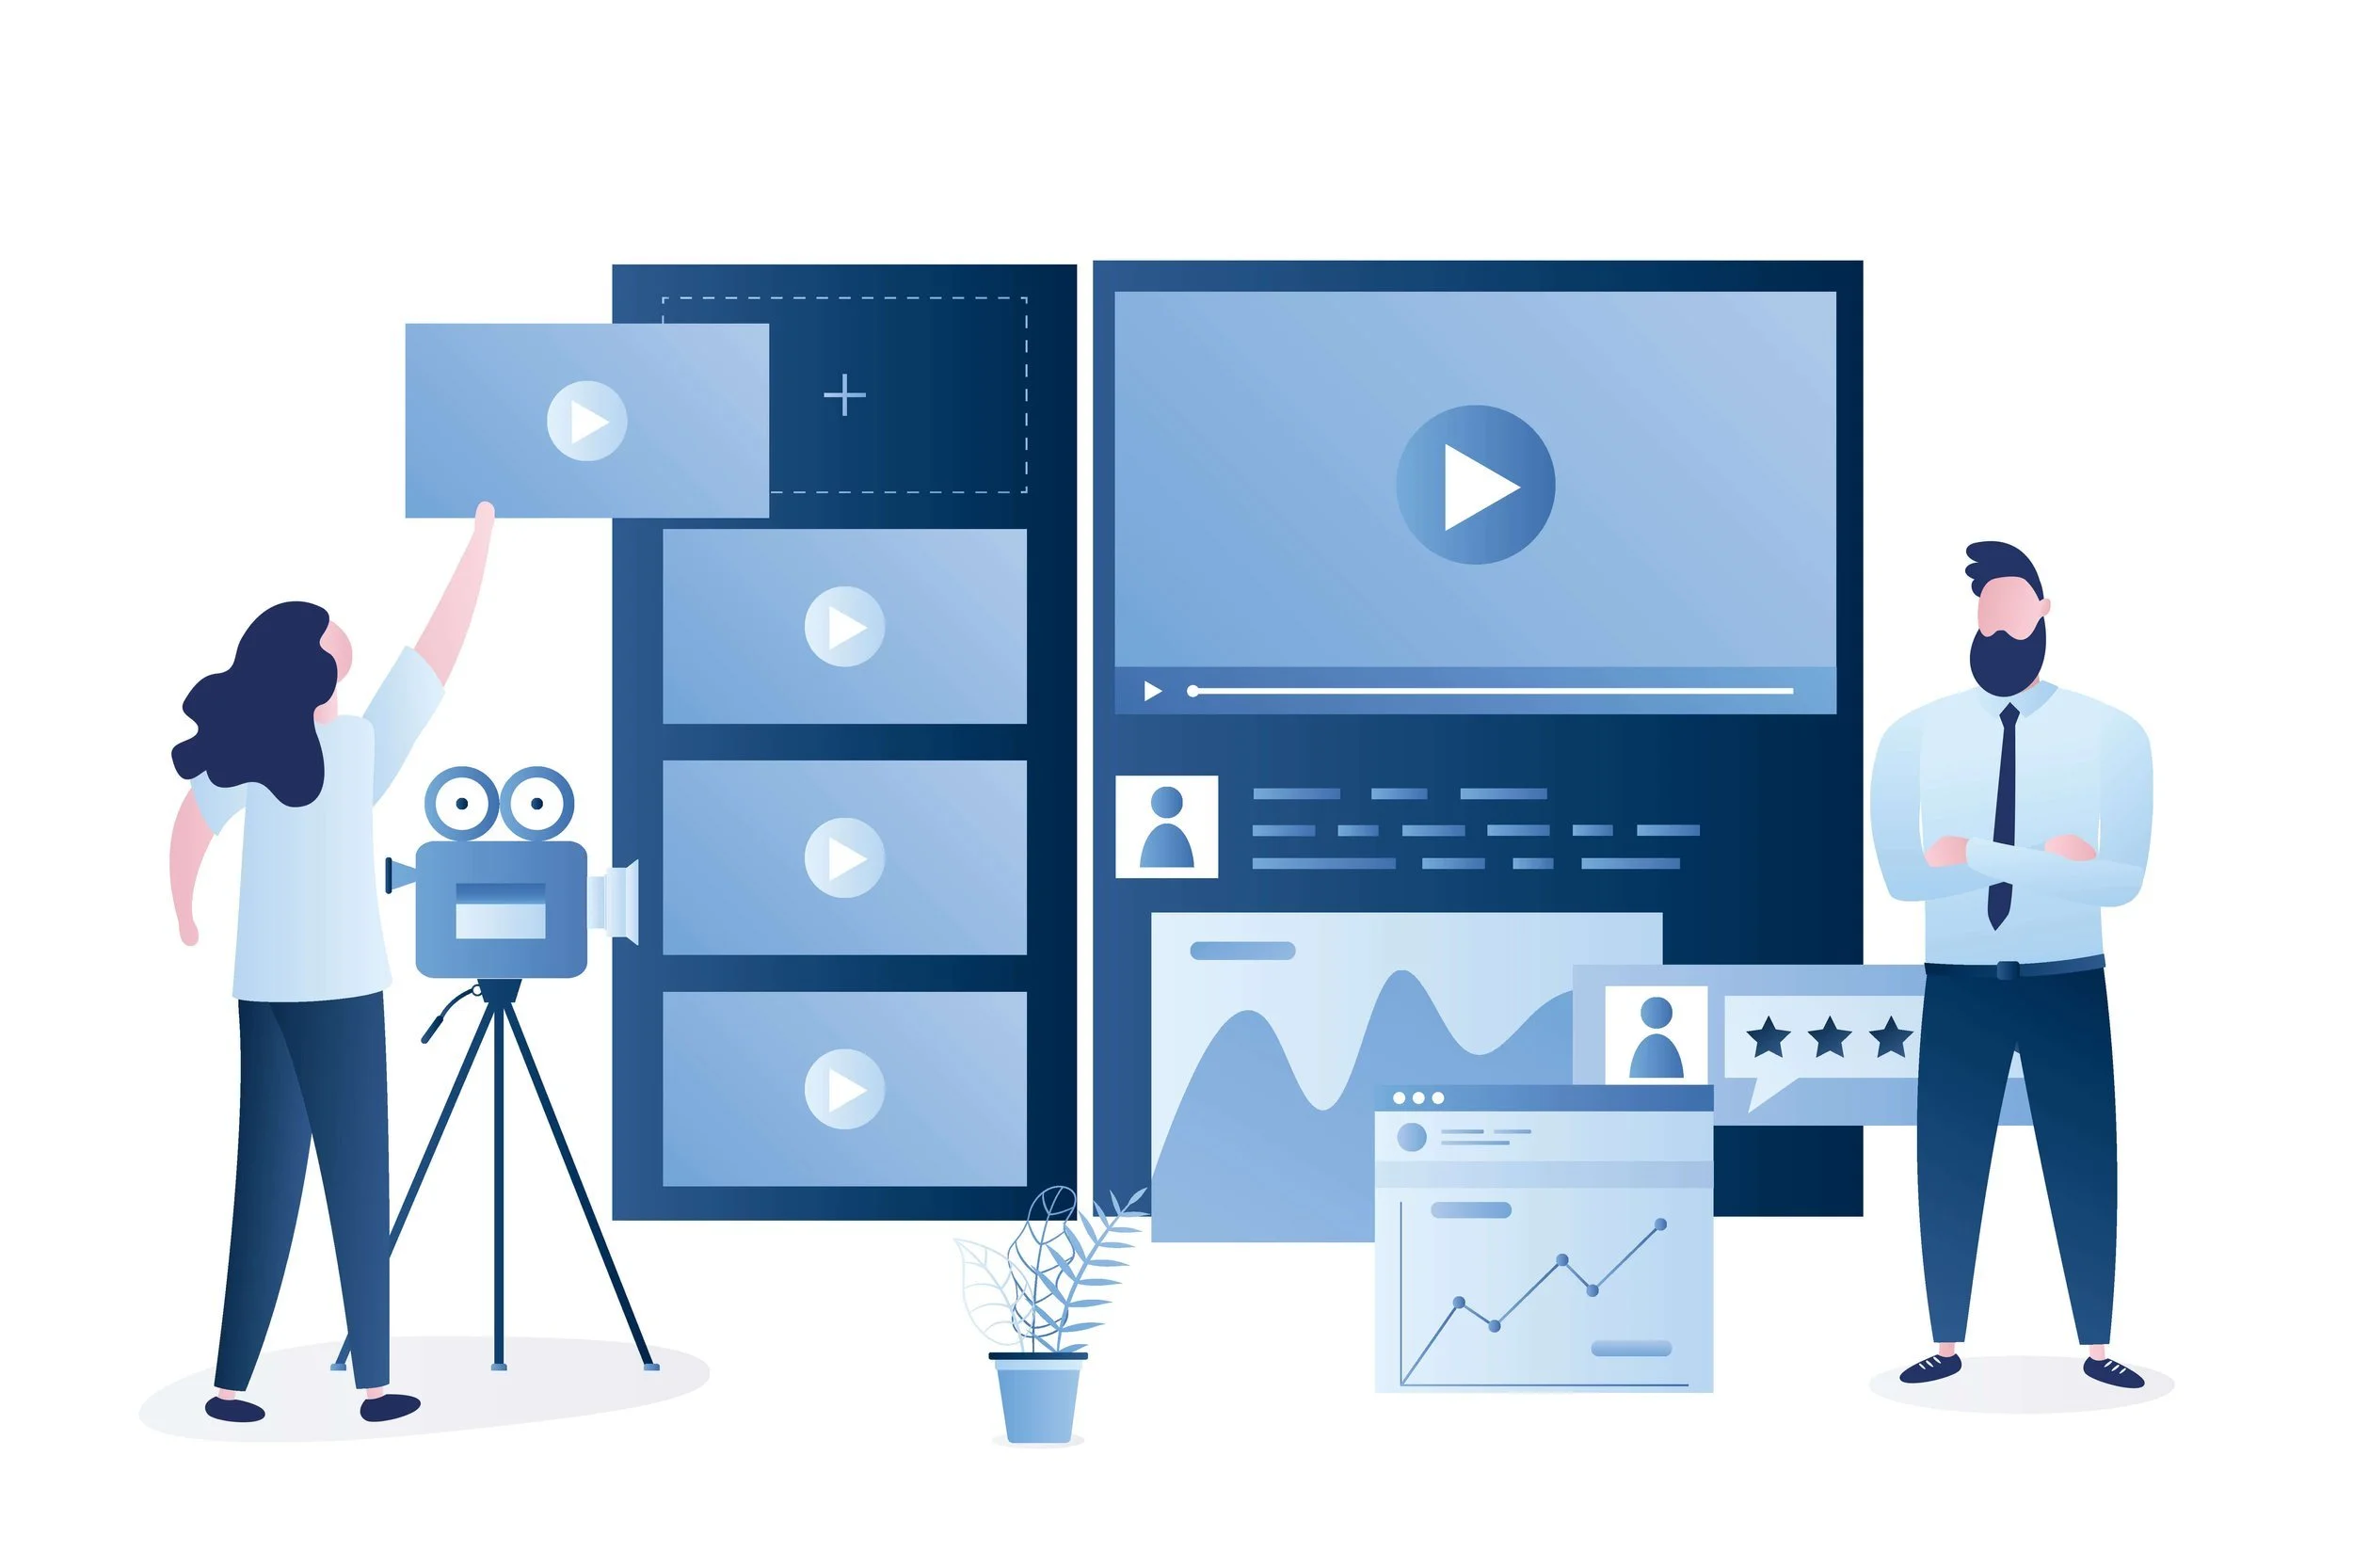
Smartphones and editing software has made it a lot easier to produce high-quality videos, but video shoots aren’t cheap. They can cost a lot of time and money, depending on what you’re trying to create. To avoid costly reshoots or a sub-par finished product, you need to be fully prepared on shoot day. And that’s where planning – and storyboarding – come in.
What is a Storyboard?

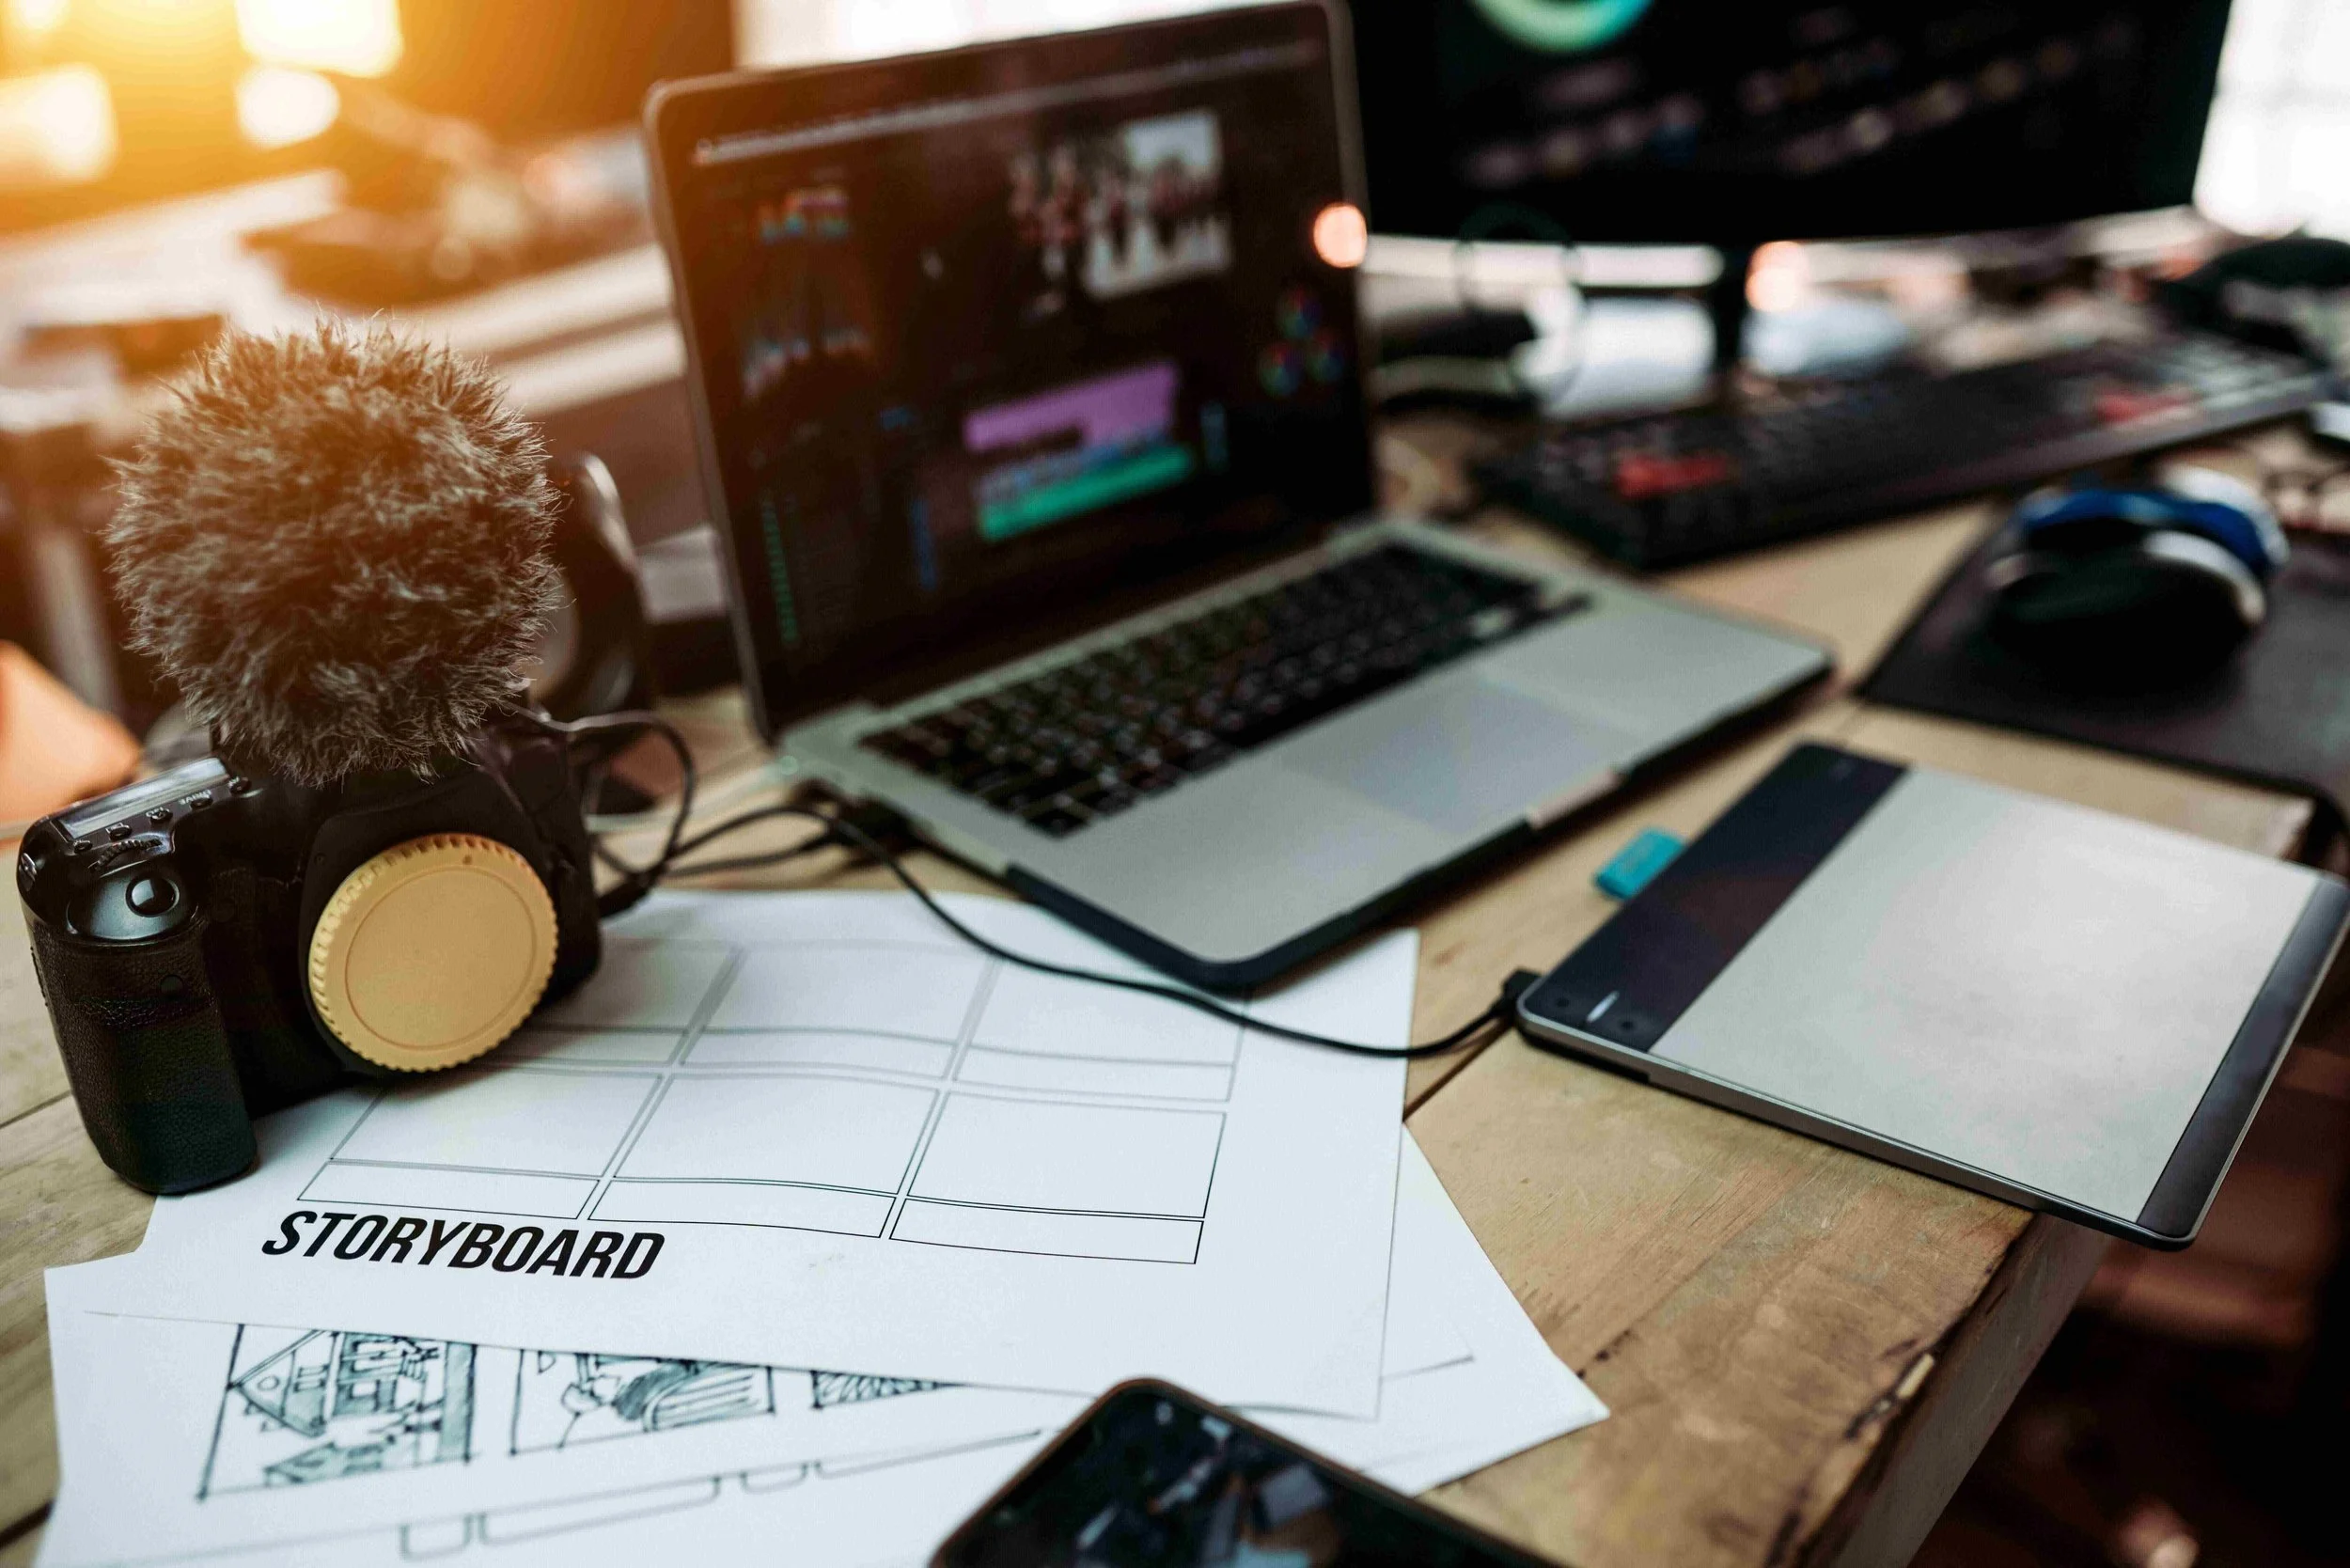
A storyboard is a visual outline of a video or animation. It breaks the action down into panels – like a comic book – made up of images and notes.
It’s basically the rough draft of your video, helping translate your vision onto a page (or screen), as an outline may for an essay.
Storyboards are typically associated with filmmaking, but they’re also extremely useful for marketing and branding. That’s because having a plan in place ensures you get the shots you need to create the content you want.
Brand with a Plan: Benefits of Storyboarding

As the adage goes, failing to plan is planning to fail. And when it comes to video production, that is certainly the case. Showing up on shoot day with only a vague idea of what you’re trying to capture is a rookie mistake. You’ll likely miss shots (or “coverage”) and face a difficult choice: Spend even more time and money on a costly reshoot or settle on a finished product you don’t love.
A good storyboard will help you avoid this dilemma altogether. Since it’s a visual outline of your video, it allows you to see the action and clarify your vision before you shoot.
Your storyboard also can also help you:
Sell in the video project to stakeholders by clearly communicating your vision
Align your team so everyone is working towards the same goal
Catch hiccups or roadblocks you may miss with just a text outline or script
Plan your coverage so and get every shot you need (it can even serve as your shot list)
Make cuts and adjustments so you don’t waste time filming shots you don’t need (remember, the best performing videos are less than 2 minutes long!)
Streamline the post-production editing process
It’s a time investment upfront that will save you time and money down the road.
Key Storyboard Components

So you’re sold on storyboarding but don’t know where to start? We’ve got you.
Below, we’ll break down the core elements of an effective storyboard, and provide you with a step-by-step guide for bringing it to life.
Your video’s storyboard should include four key elements:
Shot images: 2D images depicting the main actions of your video. Not a visual artist? Not a problem! While you can use detailed drawings, stick figures and stock images also work just fine.
Action descriptions: Below each image, you’ll want to include notes to add context. Describe key actions in more detail—what’s the emotional tone? What are the actors doing, or how are we zooming in on the product? Is there music playing? These details help bring your 2D images to life.
Script: The dialog or narration for your video, written out alongside each corresponding frame.
Technical details & specs: Timestamps, shot numbers, and other details that will be important for whoever’s behind the camera on shoot day.
How to Create your Storyboard in 4 Easy Steps

Now, it’s time to get to work putting pen to paper (or cursor to app). Here are four simple steps to help you create a thoughtful, effective storyboard for your next video project.
Choose your Storyboarding Tool
If you’re new to storyboarding, try out a couple different tools to find the one that works best for you.
You may start out simple, using pencil and paper or a PowerPoint slide. Or, you may choose to dive into a more specialized storyboarding tool, like Miro or Canva. There are also plenty of free templates available online.
Whatever you choose, remember that flexibility is key. One of the benefits of storyboarding is that it allows you to cut and move shots around before you start production. So avoid any tools (or mindsets!) that lock you in too quickly. Whether it’s hand drawn, printed, or digital, choose a tool that lets you make edits as you go.
Sketch out Your Story
Now that you have your framework, start adding in your shot images, action descriptions and script. (Note: There may be cases where it makes sense to start with the images, but most of the time you’ll begin with the script.)
Include any action notes below the frame. How does the character enter? What’s the mood of the shot? Things like tone and timing go a long way to fleshing out the story.
Remember that this is a rough draft—it doesn’t need to be 100% perfect the first time through. This will be a living document that evolves as the project comes together. Just get something on the page, and then you can start with Step 3…
Edit, edit, edit!
Once you’ve made your first pass, it’s time to refine your vision. Walk through the storyboard as a whole. Read through the script out loud several times and see how it flows. This lets you catch timing issues and tongue twisters you may have missed on the page.
You can also start cutting shots, or moving them around to find the best possible flow.
Finalize with Shot Details and Specs
Finally, once you’re happy with the general timing, flow, and script, it’s time to layer in the technical details. This is when you’ll add in time stamps, shot numbers, camera angles and movements, and other specifications to help with production.
And that’s it! Now you’re ready to kick off production.